The first book of its kind in 50 years, by the fellow who started it all!
From basic to professional — with over 400 detailed drawings & illustrations — including how to turn an old, used DeWalt into a precision instrument.
With casual copy you'll enjoy — comb-bound to lie flat on your bench. Putting an old DeWalt into shape is more than worth the price.
You'll want to take a look at these too... but do yourself a favor and order your book before you go exploring!
Free Chapters —
We’ve put some choice sections online for anyone to enjoy… even added some photos and other niceties.
Honest Reviews —
See all the fine things people have said about the book over the years.

To the Reader,
This is not meant to be a fancy book.
This is a working manual. It is designed for use as a ready reference—open on the bench, legible from a reasonable distance— and with a size of type that’s large enough to be read by “old duffers” like myself.
It includes cumulative information. Various terms and techniques, which should become “second nature” with use, are fully described only once. When they reoccur, I must assume you are well “educated” on the subject.
If my computer drawings are not as professional as they should be, the answer is simple: I am not as professional with computer drawings as I could be.
I am just a woodworker—trying to make a point or two.
So, what’s in this book?
This will give an idea of the subjects covered in-depth…
Came here ready to buy?
History, Alignment
& All-Model DeWalt Specs
While you’re waiting on your book to make its way to you, you’ll see we’ve put a nice portion of this right here on the web. Look for the links to those chapters just below. Lucky you!
— 50 pages
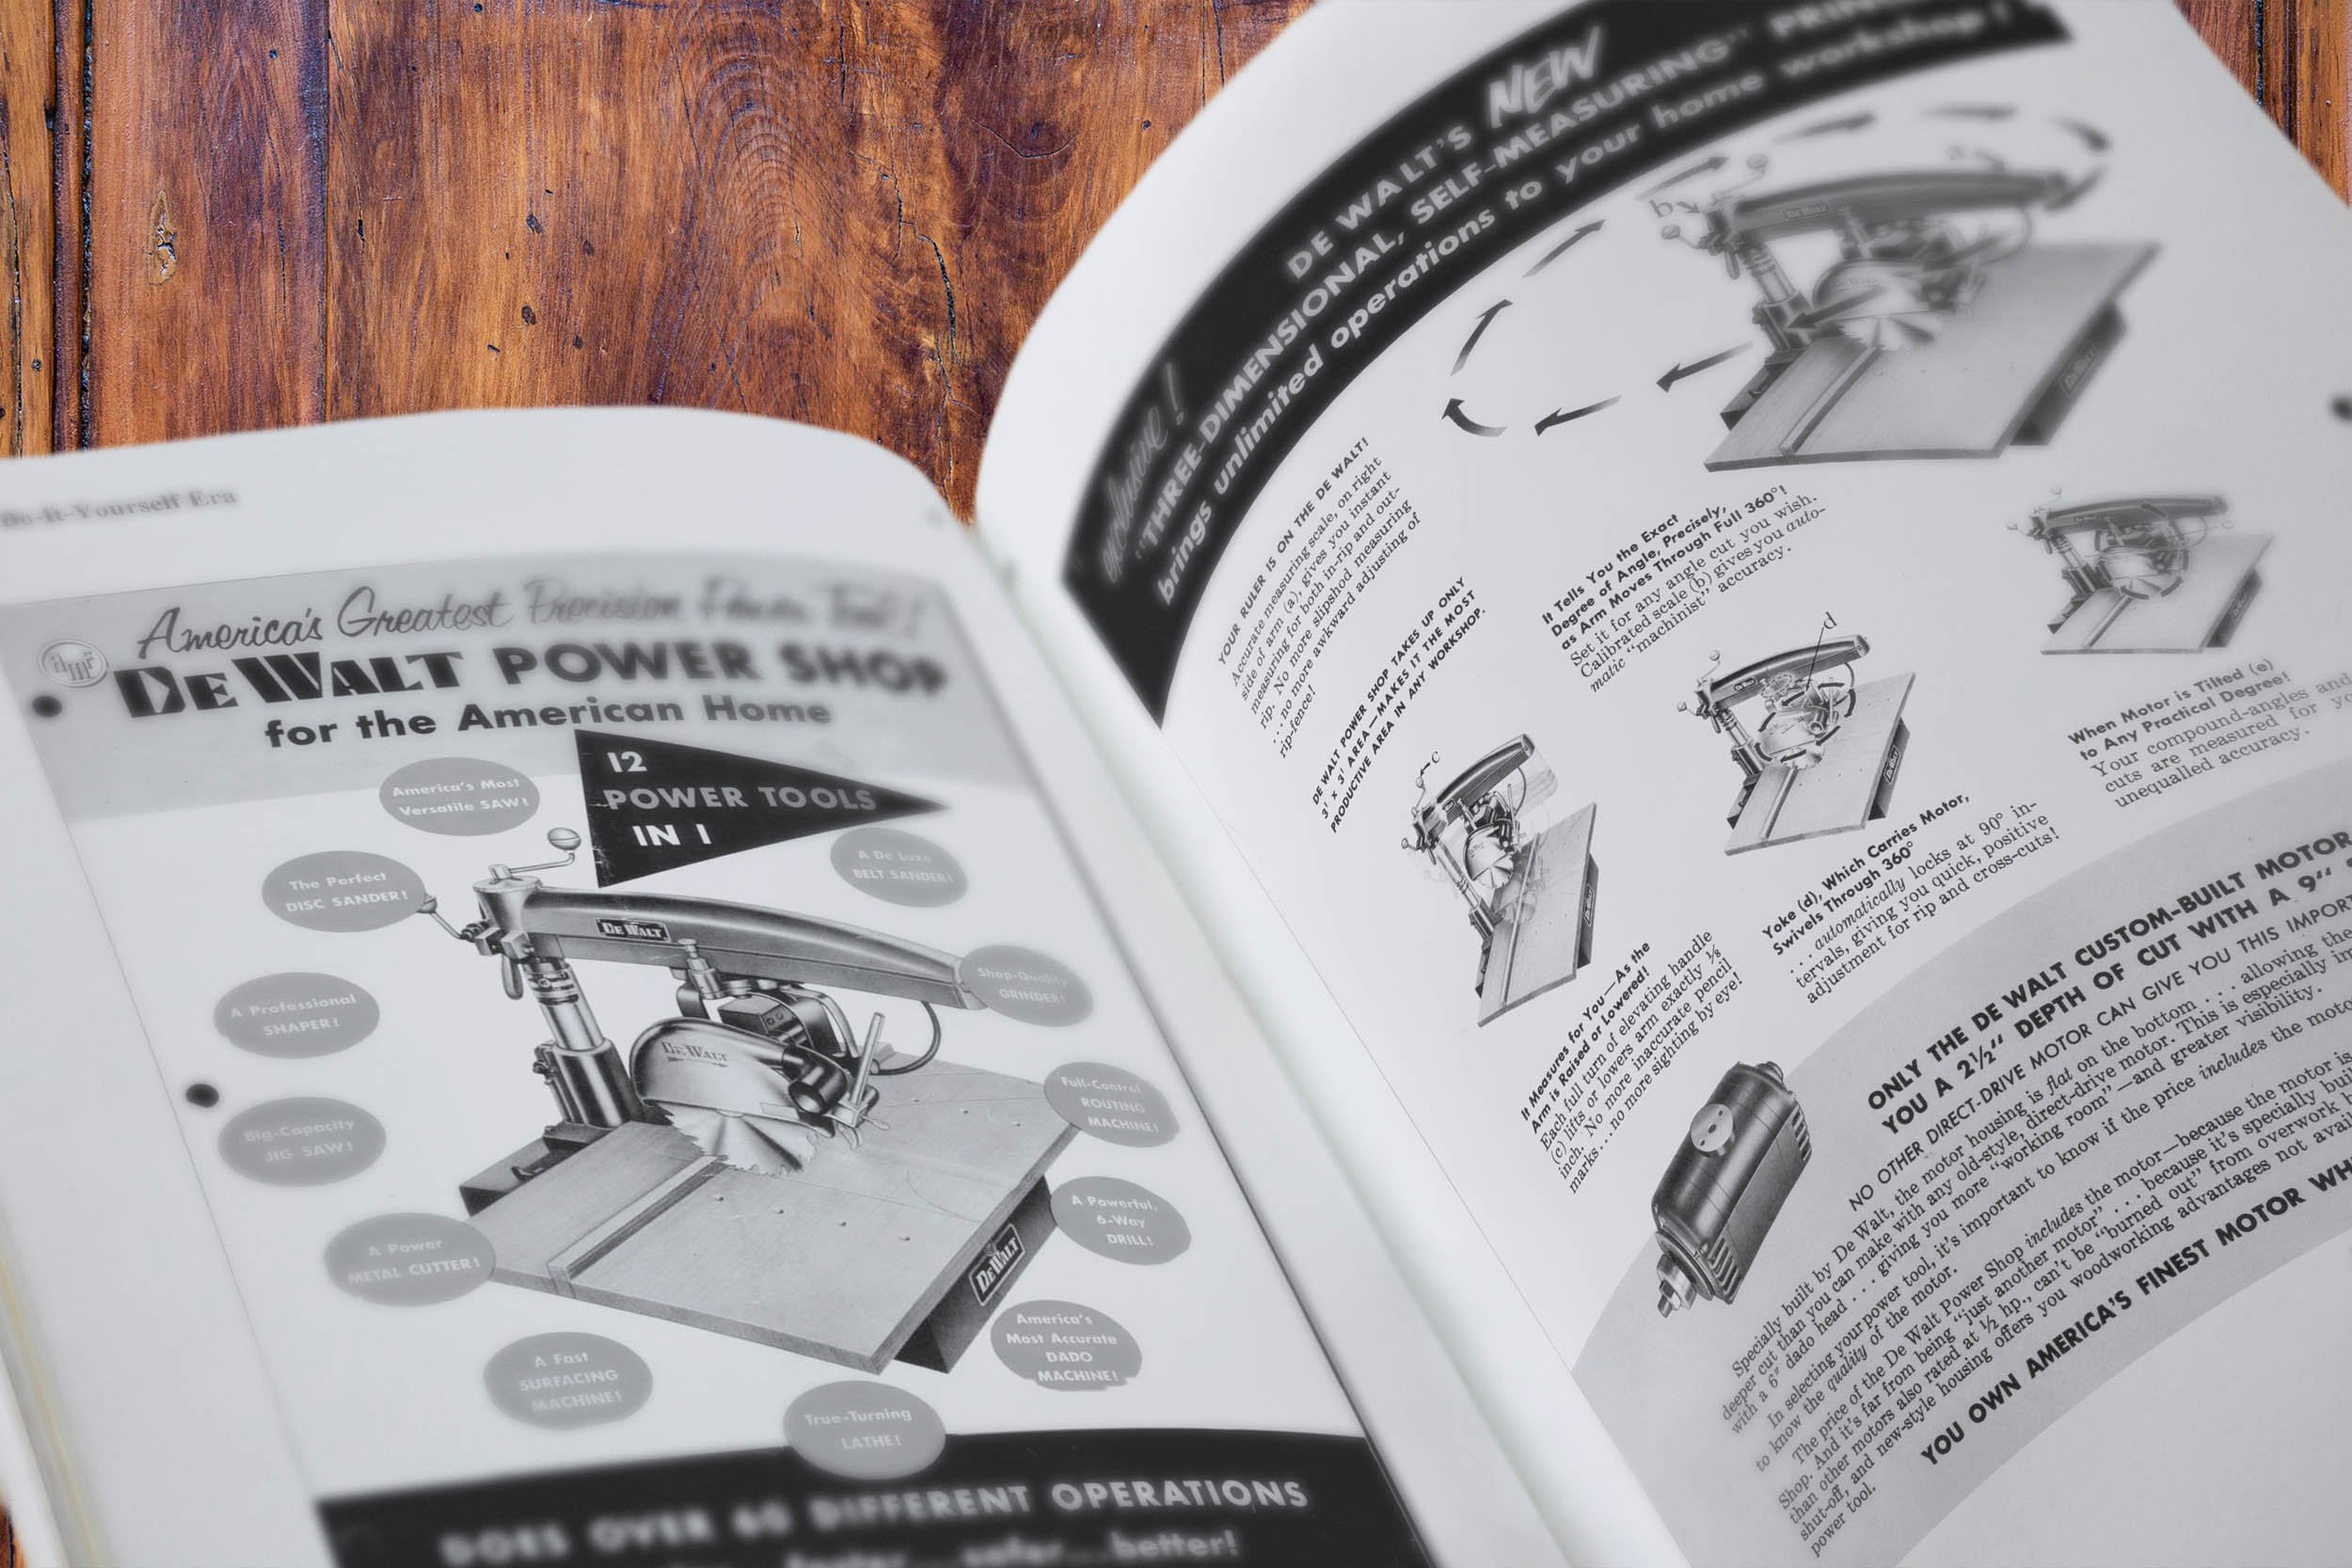
The right cutting tools & the only 8 ways you can saw a board.
— 70 pages
I know what you're probably thinking: If my saw (whether tablesaw or DeWalt) is 80% of my shop work — how can I do all that with only eight cuts? Then you'll begin to ask yourself, "What are the eight cuts?" When you realize you can't name all of them, you'll take this chapter much more seriously.
A lot of fellows, who make their living in this business, can name six of the cuts — and then draw a blank. But, tell them what the last two cuts are — and they knew it all the time!
It's no mystery. Here are the saw cuts, as applied to the radial-arm…
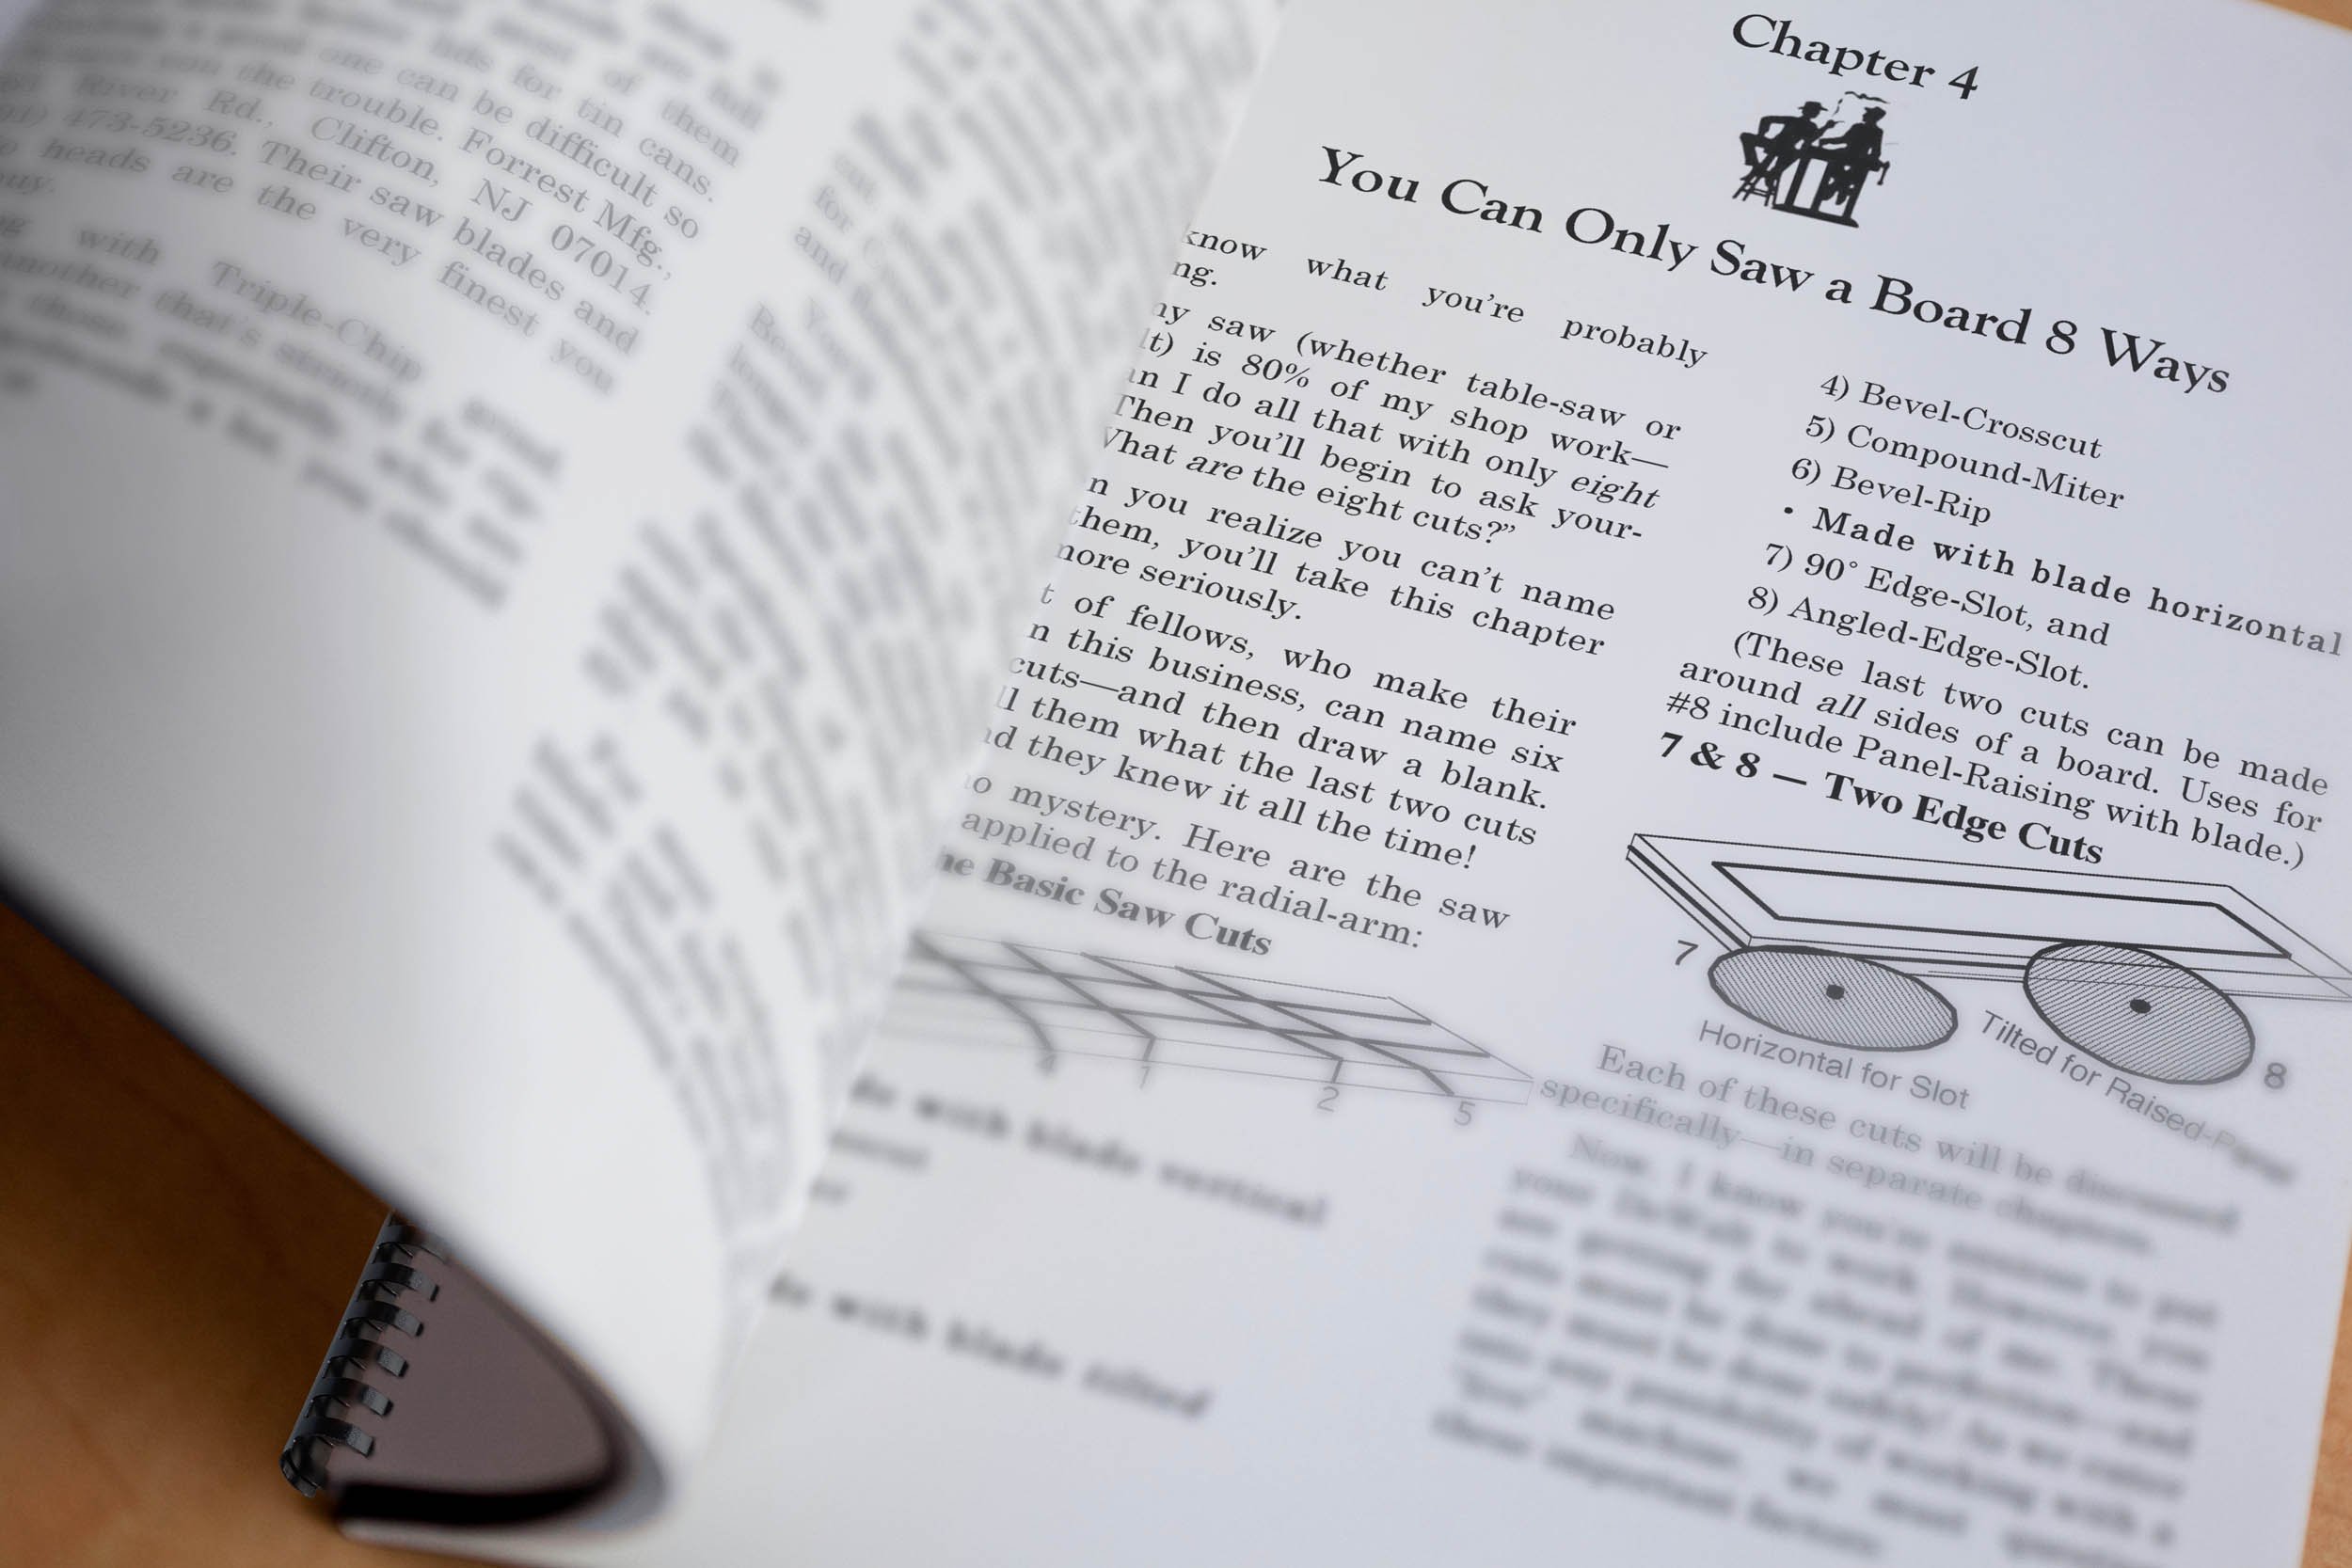
Blade Vertical
Vertical — Crosscut
Vertical — Miter
Vertical — Rip
Blade Tilted
Bevel — Crosscut
Bevel — Miter
Bevel — Rip
Blade Horizontal
90° Edge-Slot/Groove
Angled Edge-Slot & Raised Panels
… and that’s all eight!
Each of these cuts will be discussed specifically — in separate chapters.
Raised-Panels & Dado Operations
— 20 pages
I have no proof of it — but I think Raised-Panels must have started as drawer-bottoms. From such a practical beginning, they certainly turned out to be one of the nicest adventures in woodworking! For centuries, joiners have been planing a long bevel around the edges of drawer-bottoms. This way, they could fit the thin edges into narrow grooves — and use boards that were at least twice as thick as the grooves.
Of course, it's also true they've been making Raised-Panels for centuries — but I can't help but think the practical use came first.
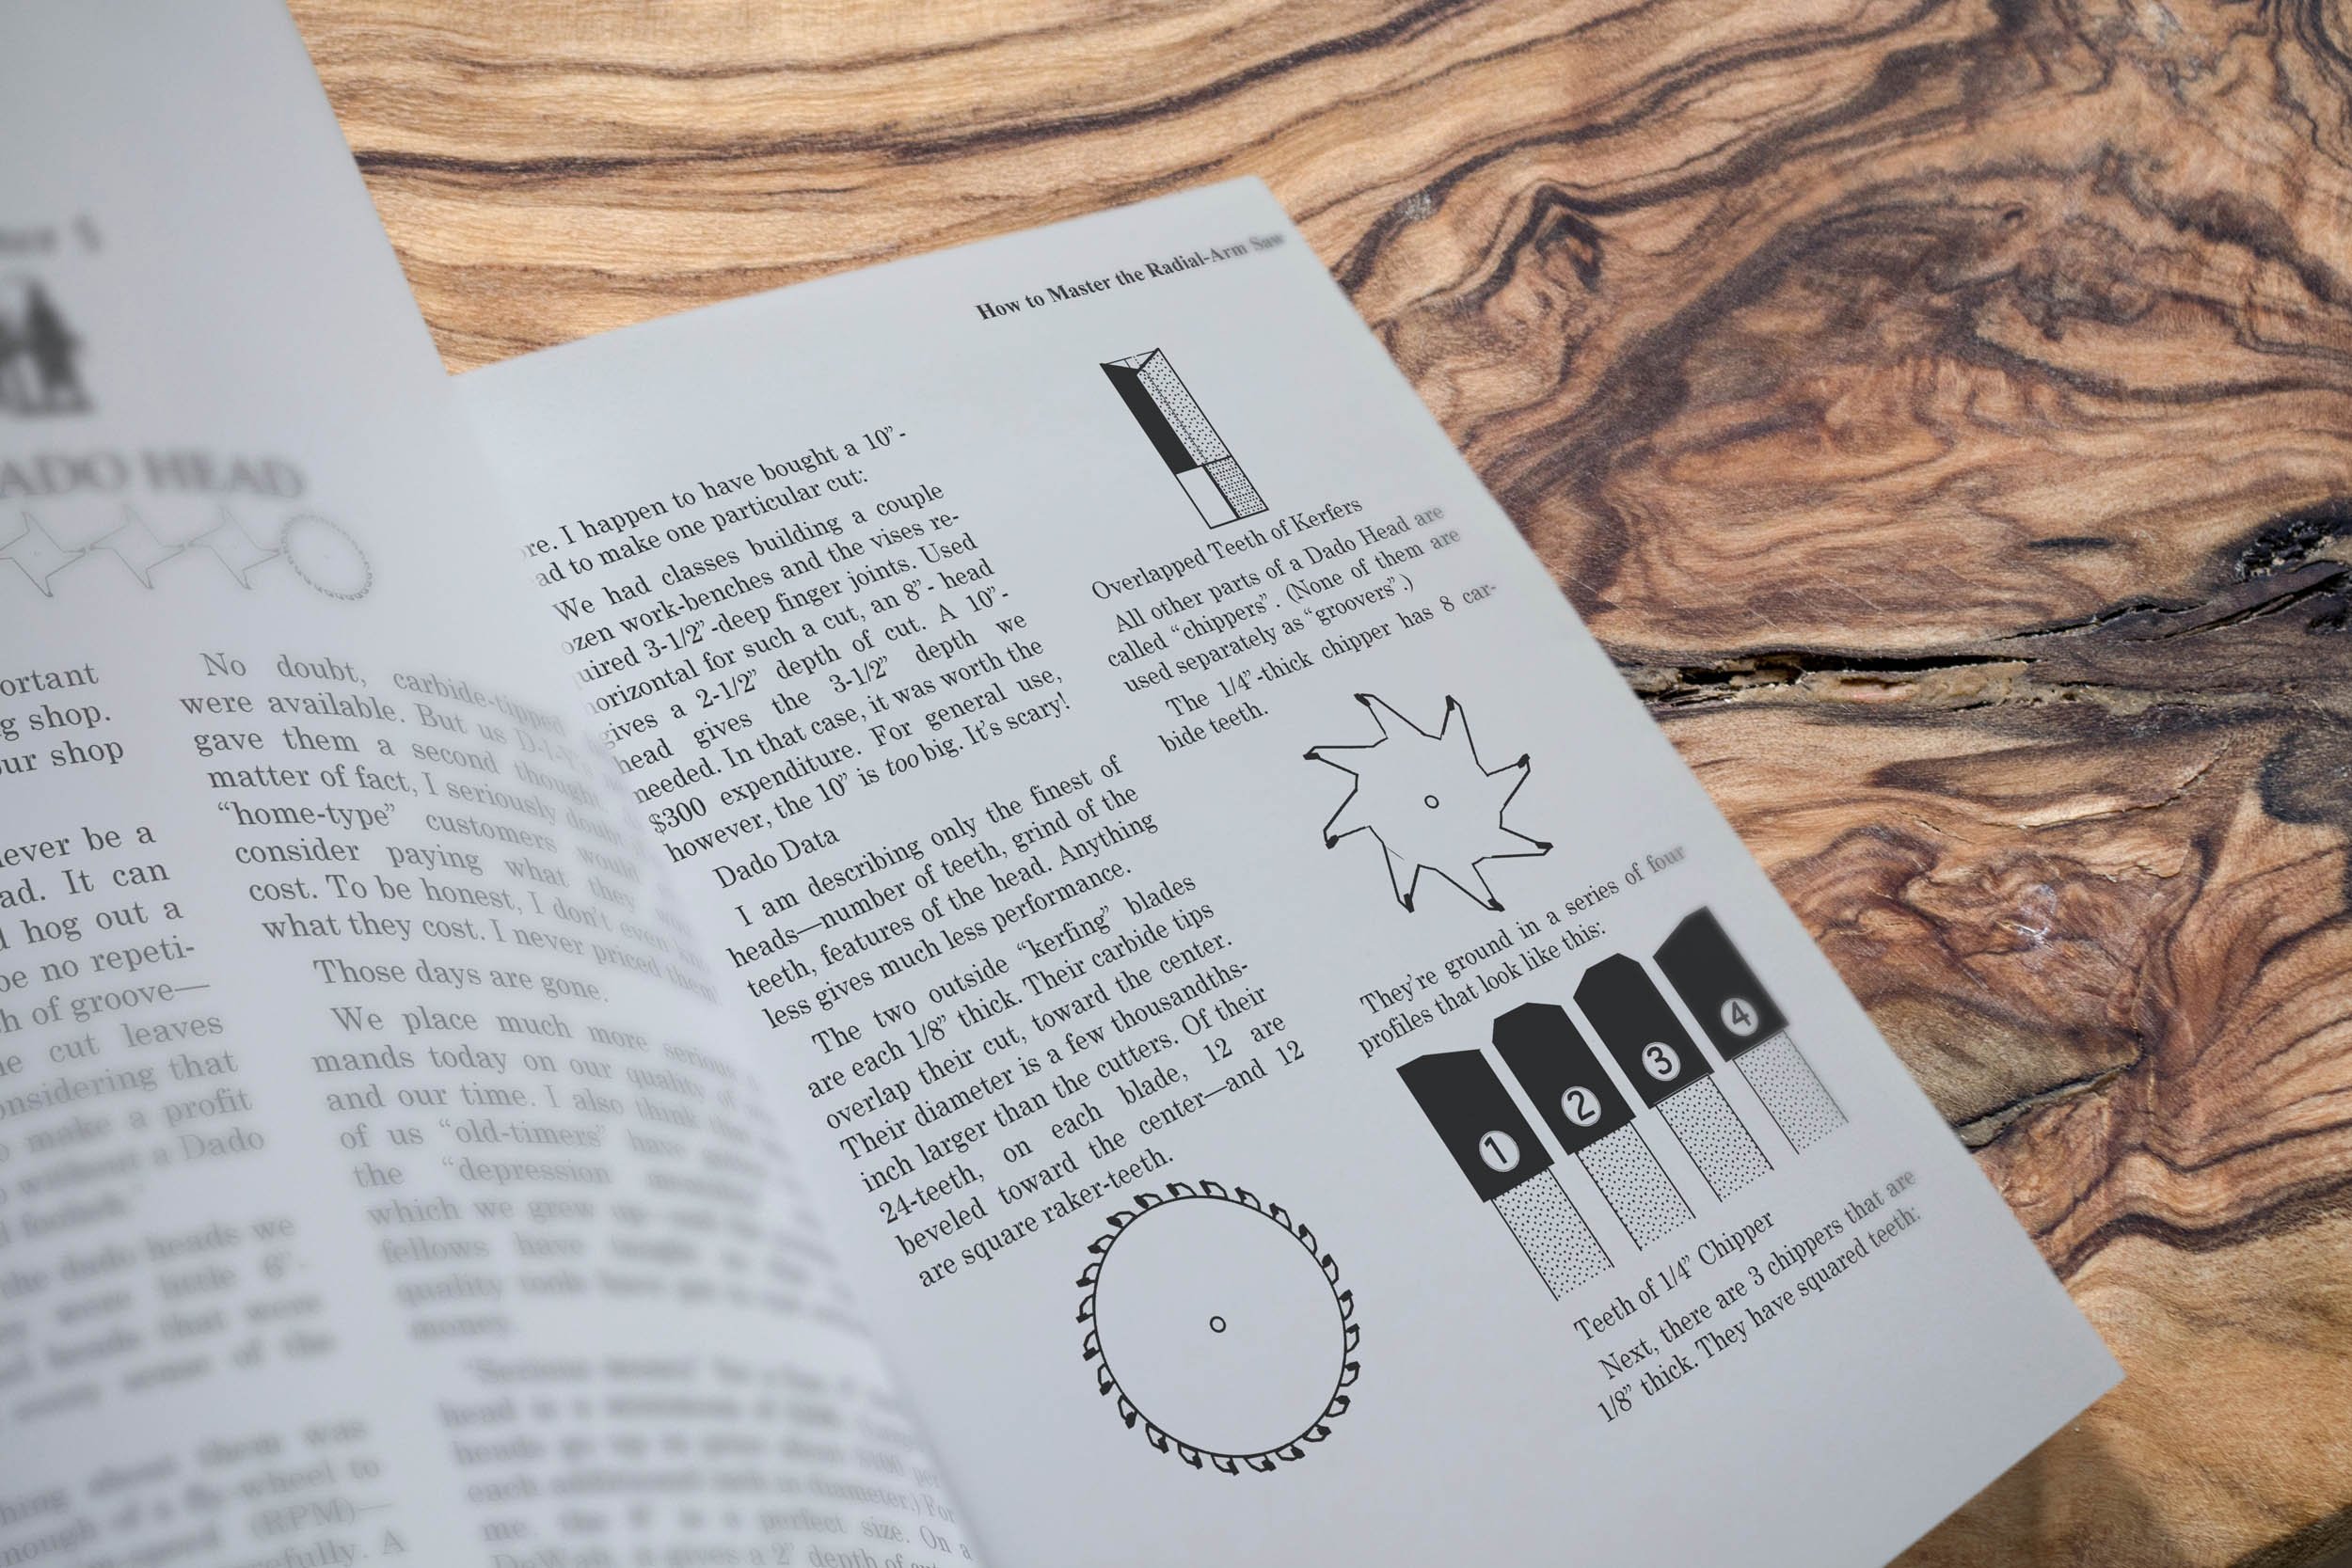
Any door that uses a frame must have a panel. Flat panels can be nice — but they'd better have some nice grain to keep them from looking very ordinary. Raised-Panels, even painted, give depth to a door — beautiful shadows and lines that are pleasing to the eye.
In Colonial times, the better homes had walls of such panels. Some were floor-to-ceiling. Others were wainscotes — partial walls. They were decorative. They were truly beautiful.
Because I hope my readers will want to enjoy making and living with raised-panels, I'll show you a few pointers you should know.
Shelf Cut & End Rabbet
Angled Dado or Gain Cut
Groove & Edge Rabbet
V-Cut & Radius Cove
Angled V-Cut
Straight V-Cut or Fluting
Edge Groove and Open Mortise
Bevel Rabbet
Straight & Coved Raised Panel
All you'll ever need to know about Shaping & Moulding
— 70 pages
My first experience with shaping was with a drill-press and some little 3-wing cutters. It worked just well enough to make me want to do it right. So I got myself a little shaper (and some 3-wing cutters) and it worked just well enough to make me want to do it (even more) right.
I suppose I would have moved right on “up the scale" toward a big spindle-shaper — but the DeWalt came along — and I never looked back! This certainly isn't to say that proper-sized shapers aren't “the cat's pajamas", not at all. But… my sons have several large shapers in their millwork shop. Each one of them has a power-feed. They have a cabinet full of very expensive cutters — and my oldest son, Marc, has also gotten good at grinding his own.
I have two points to make:
1) I don't need all that!
2) There isn't a one of those shapers that can do moulding work — on the face of the board. Naturally, that calls for a “moulder" that would cost enough for me to buy a very nice new car! (Little moulder, BIG car.)
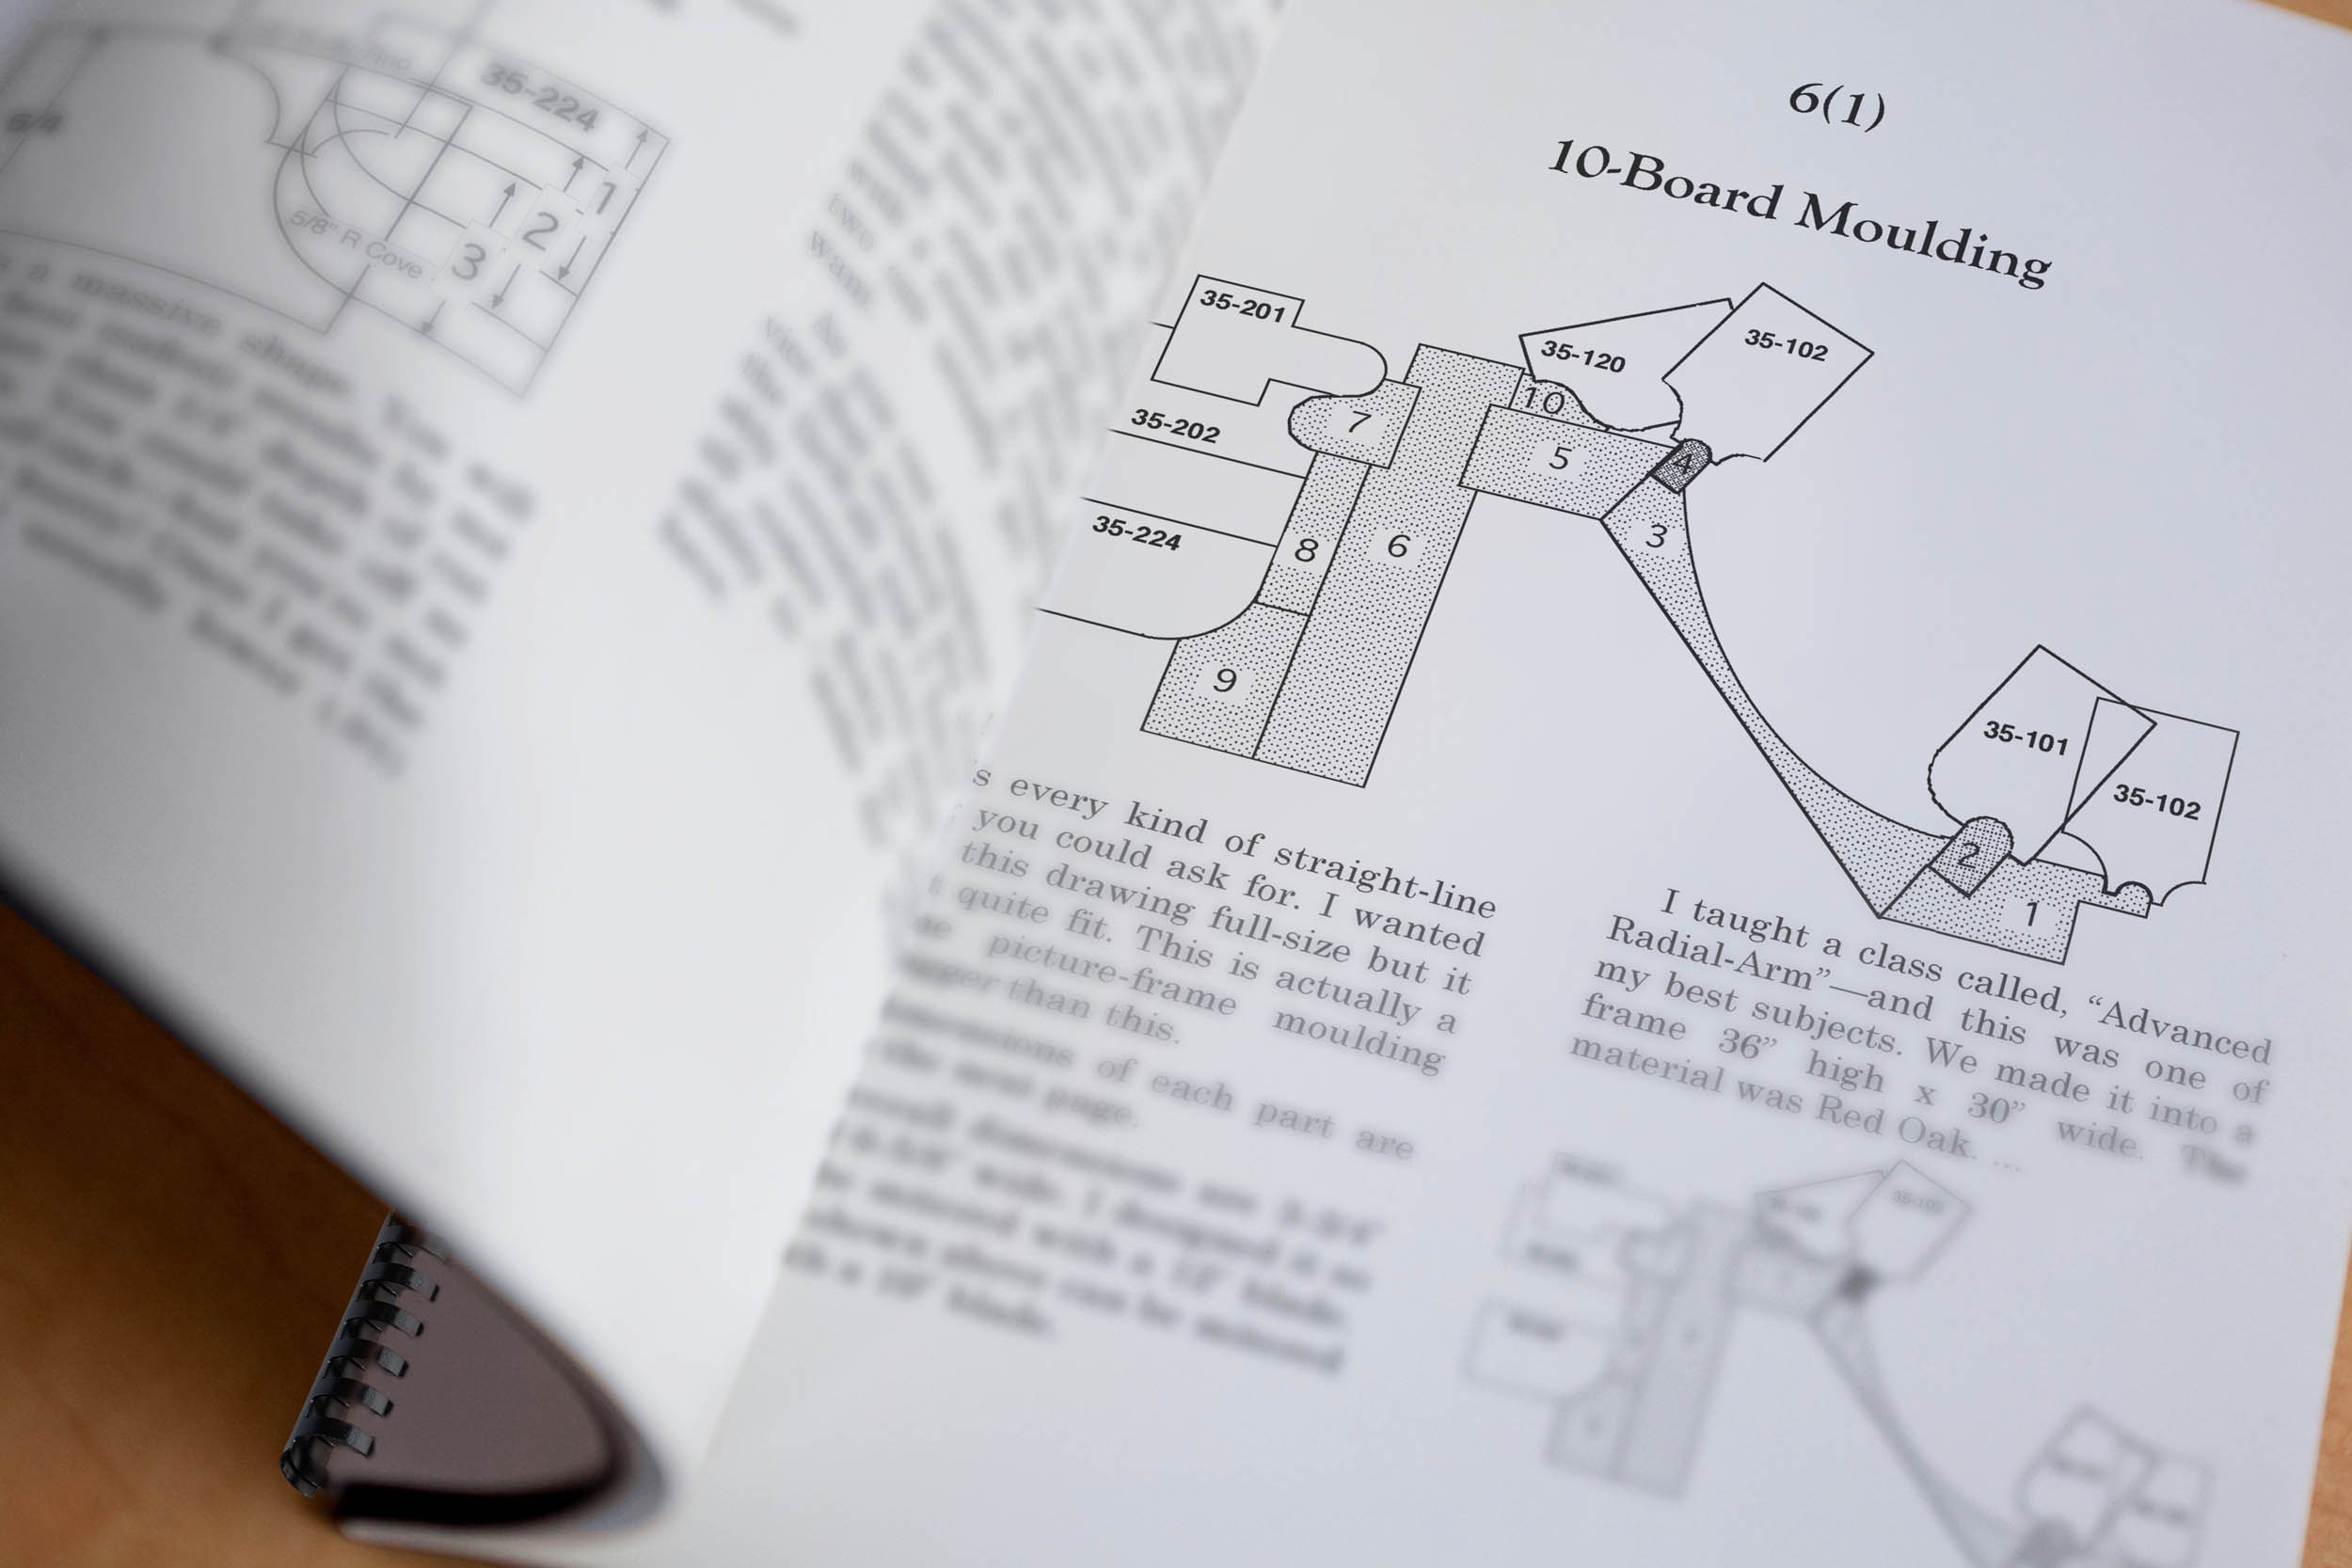
Shaper Profiles at Work
10-Board Moulding
Jointing
Straight-Line Moulding
Irregular Shaping
Shaping with Rub Collars You Make
Swan-Neck Moulding for Highboy
Doors for Fine Furniture
Sash for Classic Corner Cupboard
Muntins with Stick & Cope Pinned joints
Copying Complicated Moulding
“If you don’t know what you’re doing, you can waste a lot of time. There is a definite sequence of steps to take.”
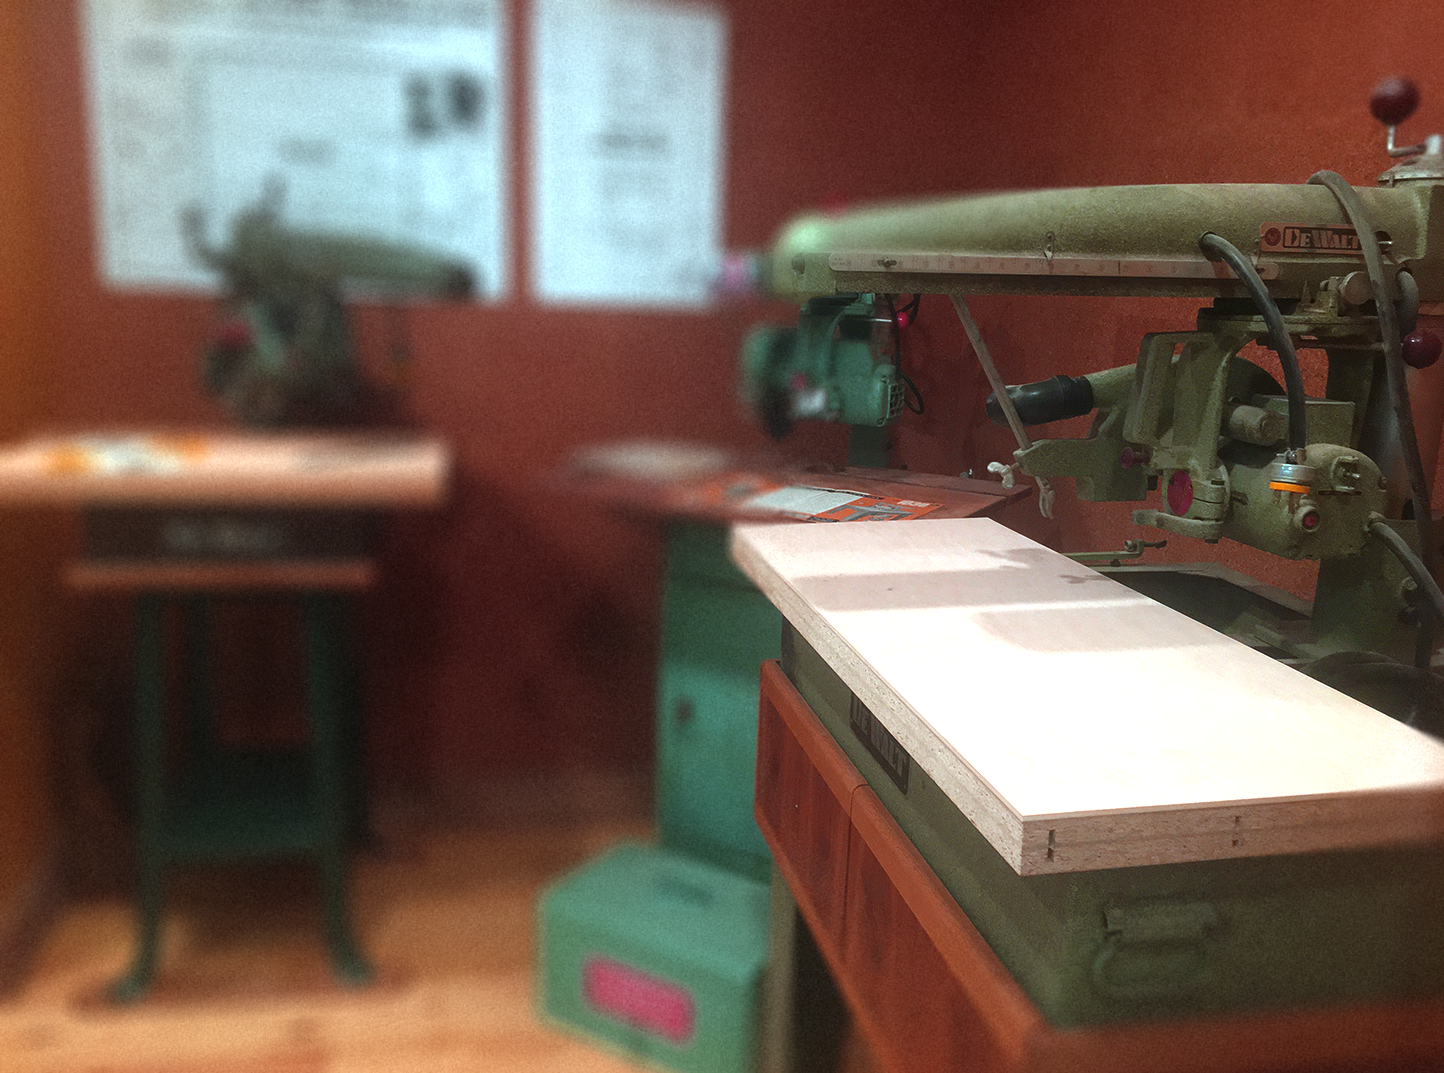
Includes everything you need to know to make…
Quite simply the only table you’ll ever want for your machine.
“Unless you decide to make a new table, don’t waste your time with the remainder of this book. The DeWalt Table is not a “cutting board.” It is a positioning surface only — a precise index for each and every operation!
Now, look what I have for you! The perfect table. ”
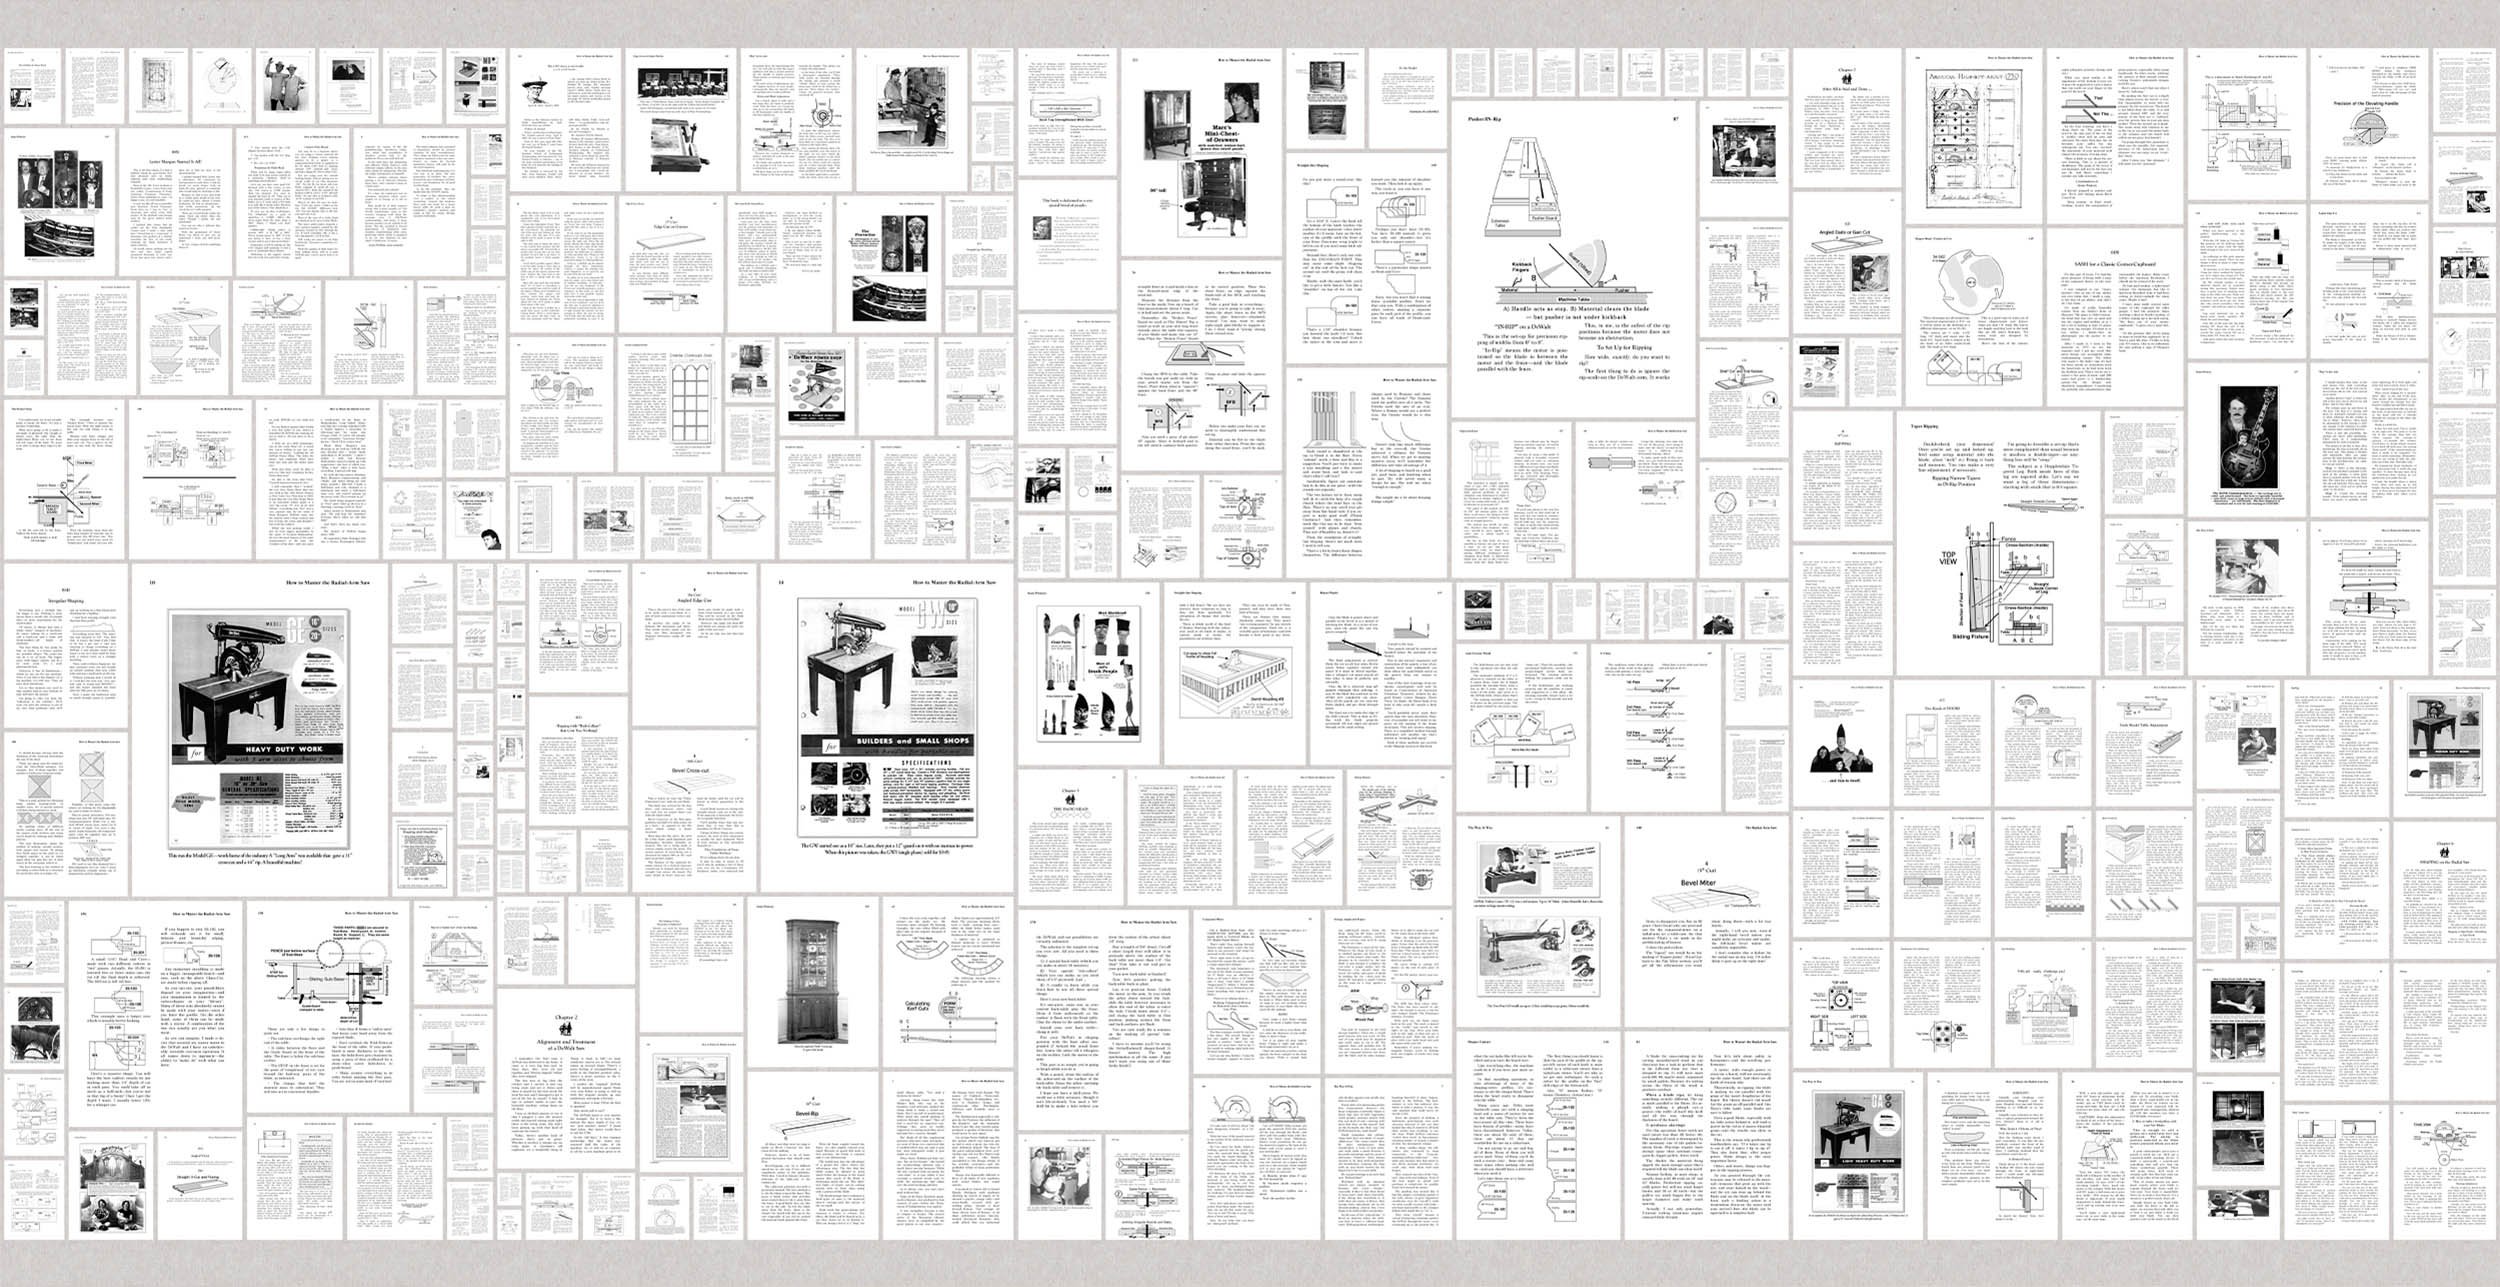
— and that's just a very brief outline!
Now let’s get you setup with a copy to call your own…

My book has found its way all over this great country – all across the world, actually!
How about that?
We’ve heard from so many of these folks over the years – and they’ve had nothing but good things to say about it.
Prefer to order over the phone?
(800) 448-1167


